
Why drafts cost more than you might expect
Gaps around windows and doors let conditioned air escape and cold outside air creep in. According to the U.S. Department of Energy, air leaks can account for 25 to 40 percent of the energy used for heating and cooling in a typical home. For families trying to manage winter utility bills, that figure makes draft sealing one of the highest-return weekend projects available.
The good news is that most of the work falls squarely in beginner territory. You do not need carpentry skills or expensive equipment. The main investment is time: a couple of hours to inspect, a trip to a hardware store, and an afternoon to seal what you find. Check out our seasonal maintenance checklist for additional low-cost tasks that protect your home year-round.
Work from the outside in
Start your inspection on the exterior of the house on a cold day: you can often feel warm air escaping with your hand before you even bring out the candle. Once you find a gap outside, go inside and trace it to its interior source. This two-sided approach speeds up the inspection and prevents you from missing hidden air paths through wall cavities.
What you will need before you start
Gather your materials and review the prerequisites below before walking through the steps. Having everything on hand prevents mid-project interruptions and helps you work through the house systematically.
What you will need
Caulk gun
Applies tube caulk smoothly into stationary gaps along window and door frames.
Utility knife
Cuts weatherstripping to length and scores old caulk for removal.
Putty knife
Scrapes away old, cracked caulk before applying a fresh bead.
Tape measure
Measures door and window perimeters so you buy the correct length of weatherstripping.
Spray foam (minimal-expanding)
Fills larger irregular gaps around door or window frames where caulk cannot bridge the distance.
Step-by-step: locating and sealing air leaks
Work through the steps below in order. Completing the inspection before buying materials prevents guesswork and avoids purchasing more than you need.
Inspect every window and door on a cold or windy day
Hold a lit candle or burning incense stick about an inch from the edge of each window sash and door frame. Move it slowly around the full perimeter. Flickering or a steady bend in the smoke points to an air leak. Mark each problem spot with a small piece of painter's tape so you can find it again when materials are in hand.
Pay extra attention to the corners of window frames, the space where the door bottom meets the threshold, and the trim-to-wall joint on interior frames.
Remove all old weatherstripping and caulk
Old materials compress, crack, and lose adhesion over time. Applying new material on top of degraded old material produces an uneven seal. Use a putty knife to lift adhesive weatherstripping and a scraper to remove old caulk. Wipe the surface with a damp cloth and let it dry completely before applying anything new.
Apply caulk to stationary gaps
Load the caulk tube into the gun and cut the tip at a 45-degree angle to match your gap width. Hold the gun at a consistent angle and pull it steadily along the gap in one smooth pass. Immediately smooth the bead with a wet fingertip or a plastic smoothing tool. Allow the caulk to cure fully before painting or exposing it to rain; check the label for the specific cure time, which typically ranges from a few hours to 24 hours depending on the product type.
Work on one window or door at a time to keep the uncured bead manageable.
Install weatherstripping on moving sashes and door stops
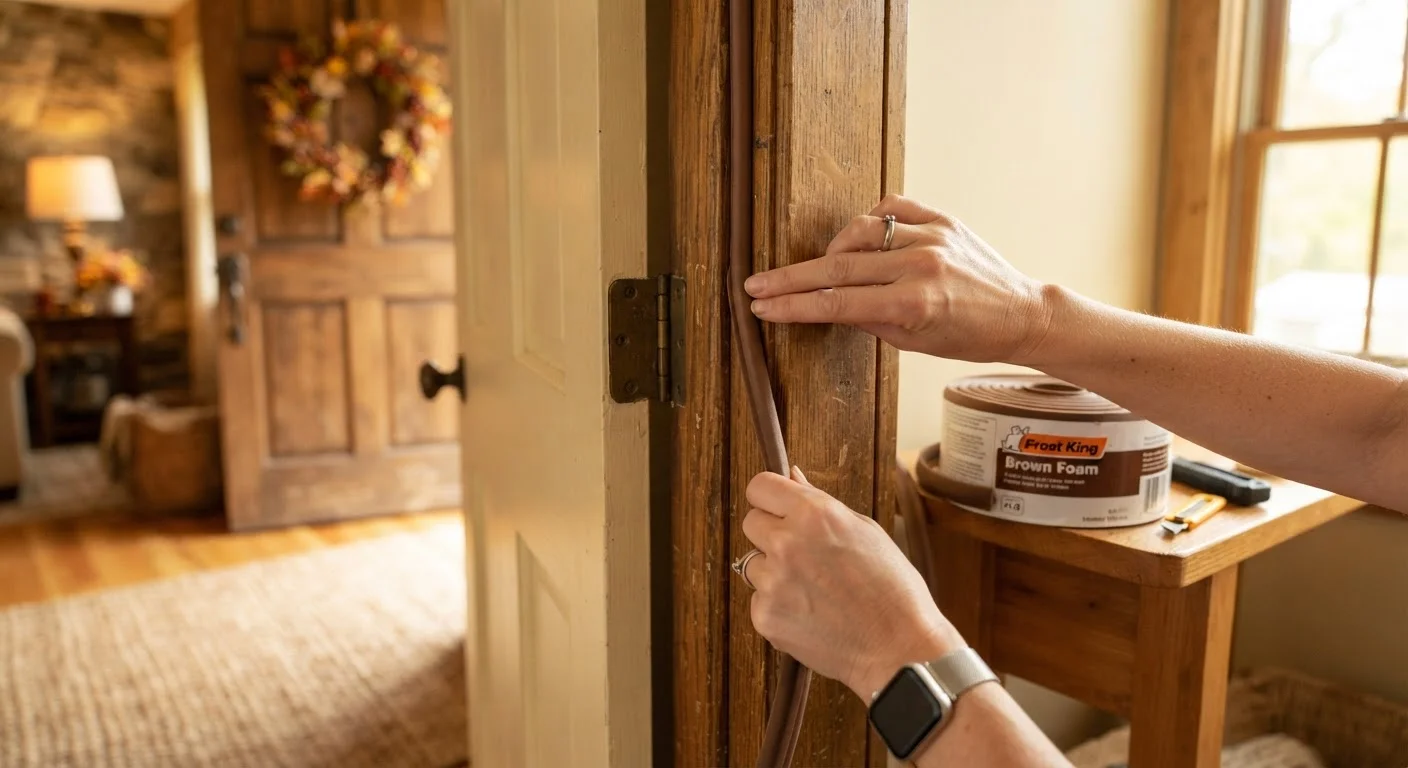
Measure each section of the door or window stop where the sash or door makes contact when closed. Cut the weatherstripping to length with a utility knife. For adhesive foam strip, peel the backing and press firmly into place, starting at one corner and working along the stop without stretching the material. For V-strip, fold it so the open side faces the direction of air intrusion, then tack or press it into the channel.
Close the door or window after installation and check that it latches or locks normally. If it binds, the strip is too thick for that gap.
Fit a door sweep along the bottom of exterior doors
Measure the door width and cut the sweep to length if needed. For screw-mounted sweeps, hold the sweep against the bottom of the door (door closed) so it just brushes the threshold, mark the screw holes, pre-drill if the door is solid wood, and fasten. For adhesive sweeps, clean the door bottom with rubbing alcohol, peel the backing, and press into place. Open and close the door several times to confirm the sweep does not drag or lift.
Re-test for remaining drafts
Repeat the candle or incense test after all materials have cured. Any spots that still show airflow need a second pass. Common oversights include the joint between the door frame and the rough framing behind the trim (addressable with minimal-expanding spray foam from inside after removing the trim) and the gap at the meeting rail of double-hung windows.
Choosing the right material for each gap
Not every gap calls for the same fix. Using the wrong material wastes time and money.
- Caulk works best on stationary gaps: the joint between a window frame and exterior siding, or between a door frame and interior trim. Silicone caulk holds up well to temperature swings and moisture. Latex paintable caulk suits interior trim where you plan to repaint.
- Foam weatherstripping (adhesive-backed) suits the top and sides of a door or window sash where two surfaces compress together when closed.
- V-strip (tension seal) weatherstripping fits into the channel of a double-hung window or along the side jamb of a door and springs back to fill the gap even when surfaces shift slightly with humidity.
- Door sweeps attach to the bottom of a door and block the gap between the door bottom and the threshold. They come in adhesive and screw-mounted versions; screw-mounted tends to hold longer.
- Rope caulk (also called removable caulk) is a temporary option for windows you do not open in winter. It peels off cleanly in spring without damaging paint.
When in doubt, measure the gap width before buying. Most weatherstripping packages list the gap range they are designed to fill. A gap wider than the product's rating will not seal properly.