Why paint peels so quickly
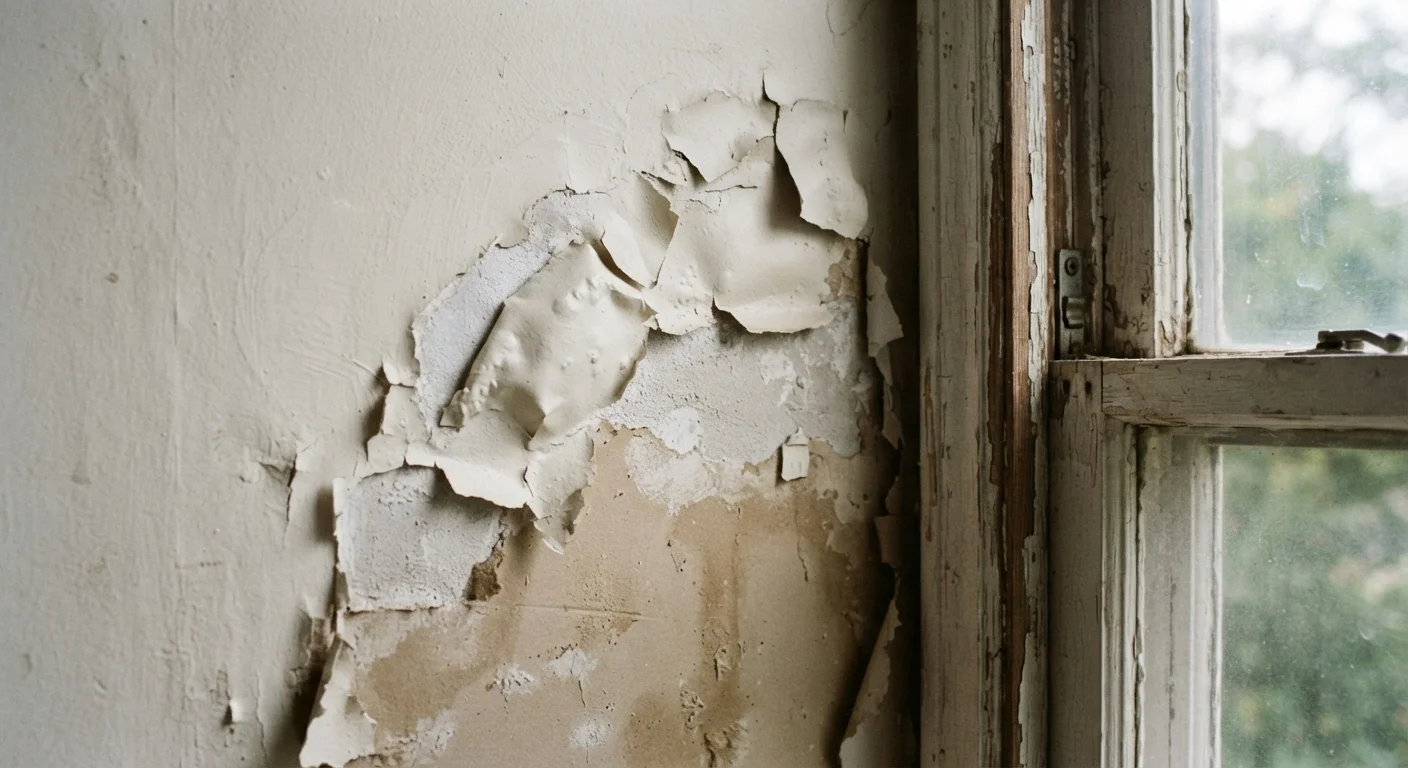
Paint that lifts, bubbles, or curls away from a wall within twelve months is not defective paint. In almost every case, something went wrong before the first drop hit the surface. The paint itself is the last variable to examine.
Adhesion is the mechanism that holds paint to a wall. It depends on a clean, stable, properly primed surface and on conditions that allow the paint to cure correctly. When any of those conditions are missing, the bond weakens, and peeling follows. Understanding which failure caused the problem determines whether a patch job or a full repaint is needed.
Do not paint over loose or flaking paint
Applying a fresh coat over existing peeling paint does not bond the old layer back to the wall. The new paint adds weight, which accelerates further delamination. Scrape all loose material, sand the edges smooth, and prime bare spots before repainting. Skipping this step is the most reliable way to repeat the same failure within months.
The mistakes behind early paint failure
The following errors account for most cases of paint peeling within the first year. They appear in DIY paint jobs and professional ones alike, and most are avoidable with a small amount of additional preparation time.
Painting over dirty or greasy surfaces without washing the wall first.
Why it happens: Walls look clean to the eye, so many people skip washing and go straight to rolling. Kitchen walls in particular accumulate grease and cooking residue that are invisible from a distance.
Skipping primer, especially on new drywall, patched areas, or surfaces with stains.
Why it happens: Primer adds a step and cost, so it often gets cut when someone is trying to finish a job quickly or cheaply. Modern paint-and-primer-in-one products have also led many homeowners to believe a separate primer coat is obsolete.
Not allowing adequate drying time between coats.
Why it happens: Most people want a project done in a day. Rolling on a second coat while the first is still tacky seems harmless because the paint looks dry on the surface.
Painting in conditions that are too humid, too cold, or too hot.
Why it happens: Room temperature rarely gets checked before a paint job. People paint in garages or unheated rooms in winter, or in bathrooms where humidity is high, without adjusting conditions first.
Applying paint too thickly in a single coat instead of two thinner coats.
Why it happens: A thick coat looks like better coverage and saves time. It seems logical that more paint means a more durable finish.
Using the wrong paint type for the room's moisture level.
Why it happens: Flat or matte paint is often chosen throughout the home because it hides imperfections well. Homeowners may not realize that low-sheen paints absorb moisture rather than repel it.
Correcting even one or two of these errors before repainting can extend a paint job's life from one year to eight or more.
How to repaint correctly after a failure
Moisture problems need fixing first
Painting over a wall with active moisture intrusion, whether from a leak, condensation, or inadequate ventilation, will not seal the problem. The paint will fail again. Identify and correct the moisture source before any repainting begins. In bathrooms and kitchens, this often means improving ventilation or addressing grout and caulk failures before picking up a brush.
Once any moisture issue is resolved, start with a complete assessment of the wall surface. Remove all loose paint by scraping firmly, then sand the edges of any peeled areas with medium-grit sandpaper until the transition between bare wall and intact paint is smooth. Wipe the wall clean and let it dry fully.
Prime all bare spots with a shellac-based or stain-blocking primer if the original failure involved staining or moisture. On clean, bare drywall, a standard PVA primer works well. Let the primer cure completely before applying the topcoat, and keep the room ventilated throughout.
Applying two thin coats of the correct paint type for the room, with full drying time between them, gives the repaint the best chance of lasting.